
The shelf was the first piece of furniture I ever purchased on my own, shortly after moving into my first apartment. It's certainly nothing fancy, it came from Big Lots and required assembly, but it's come to each apartment I've lived in and I wanted to make the most of it. I had already moved it from a place in the room where it wasn't getting much attention, or taking advantage of the other pieces I already had, like the wall art, to it's new location.
I started by deciding which accessories I wanted to stay, and which to add. I've developed a thing for white ceramic and white milk glass, so I decided to keep those as the main elements. My cookbooks are also stored on the shelf, and those stayed as well.

To dress it up a bit and give it some more interest, I decided to cover the back panel in fabric. In addition to the added interest, I thought adding some contrast would help the white accessories stand out. So I went to JoAnne's in search of some fabric. I considered a lot of options,using the wall art
 as inspiration:


When I saw this fabric though, I fell in love!


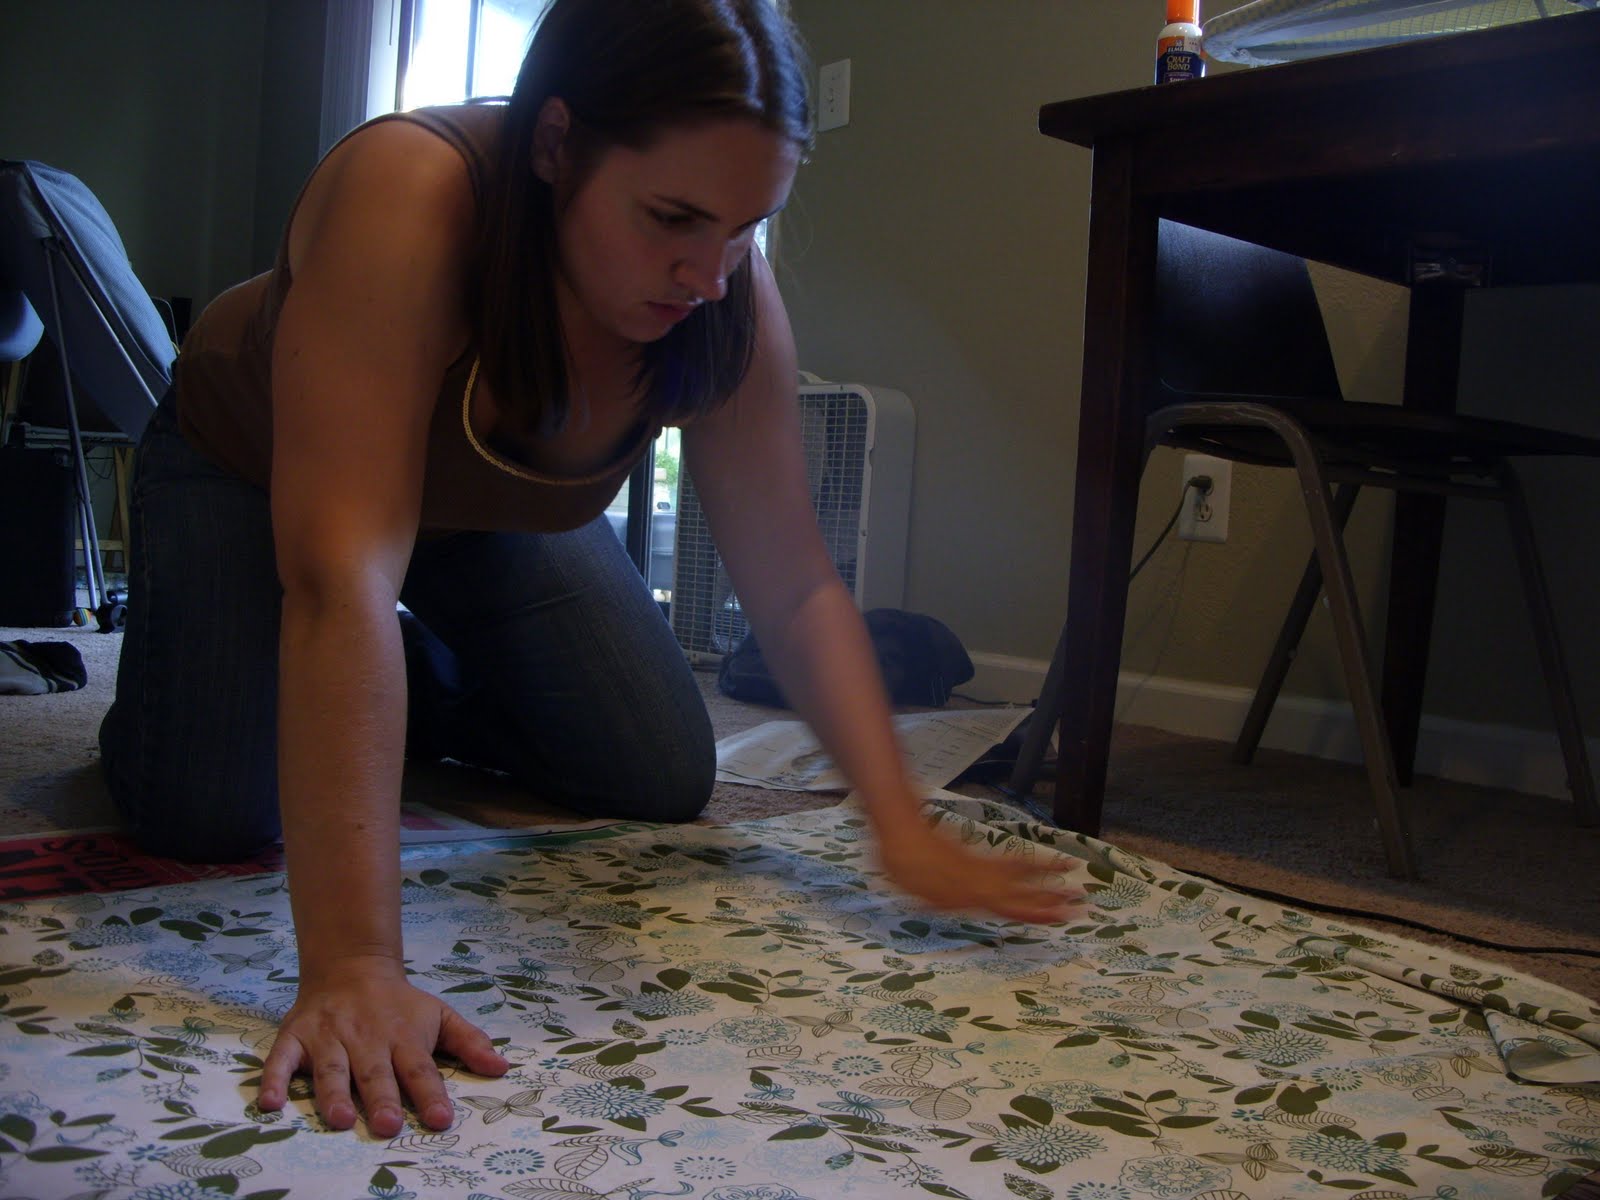
Once removed, I sprayed the glue evenly to cover the whole cardboard backing. Because I wanted it to be removable, I let it dry for a minute or so before pulling the fabric over the glue, and smoothing it out to get rid of any bubbles or bumps. I allowed it to sit for a while to set, before I trimmed excess fabric from the edges, and reattached the backing by nailing it back into the shelf.


When I was done, the shelf looked so much more fun. Plain and boring, no more.


 |
| Before: boring and cluttered, adding nothing to the room |
 |
| After: tidy, pulled together, adding lots of interest to the room |
4 comments:
This is super cool. I can't wait to see more projects like this from you!
Thanks Dayna! I have the month off from school before I start my first internship, so I'm trying to fit in as much as I can!
Hi there, found your via young house love face book page, love the book shelf, a great weekend project!
Hi Samantha, glad you like it! I love it too and it was such an easy project. It was also fun picking out fabric :-)
Post a Comment